Remodelling Unworn Jewellery
Have you got jewellery that was inherited, handed down or just some pieces you don’t wear anymore that aren’t your style?
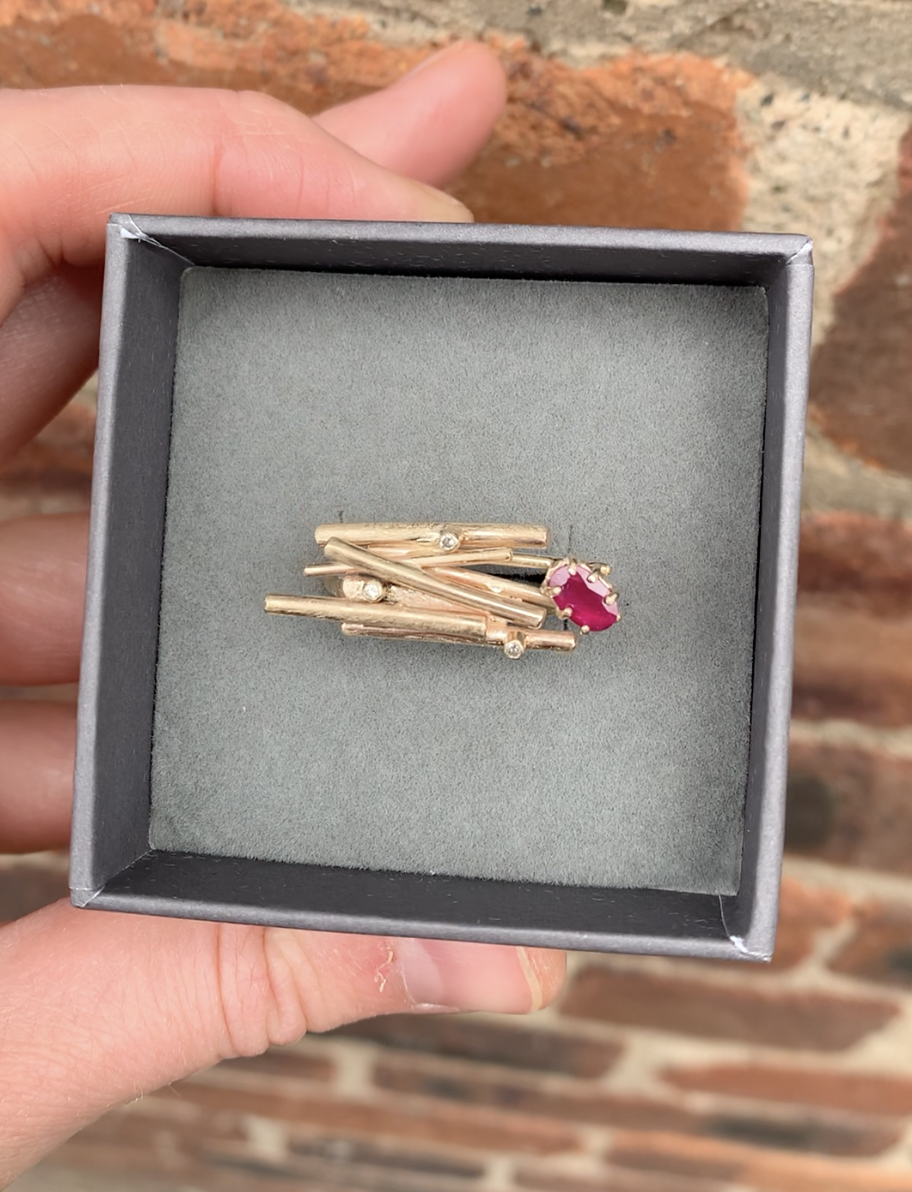
Remodelling old jewellery into a new design is the best way to repurpose the materials into something you’ll love to wear. See my latest remodelled ring below.
Stage 1: Design
The client had two 9ct gold rings that she wanted to have remade into something more her style and that she could have more enjoyment from. She liked a variety of styles from my current collection and after weighing the gold I designed three rings that would work with the materials we had and which encorporated the ruby and diamonds. Once the final design was approved I started the deconstruction process by sawing the rings into smaller pieces so that they could be melted easier into one piece.
Stage 2:
Melting of the gold
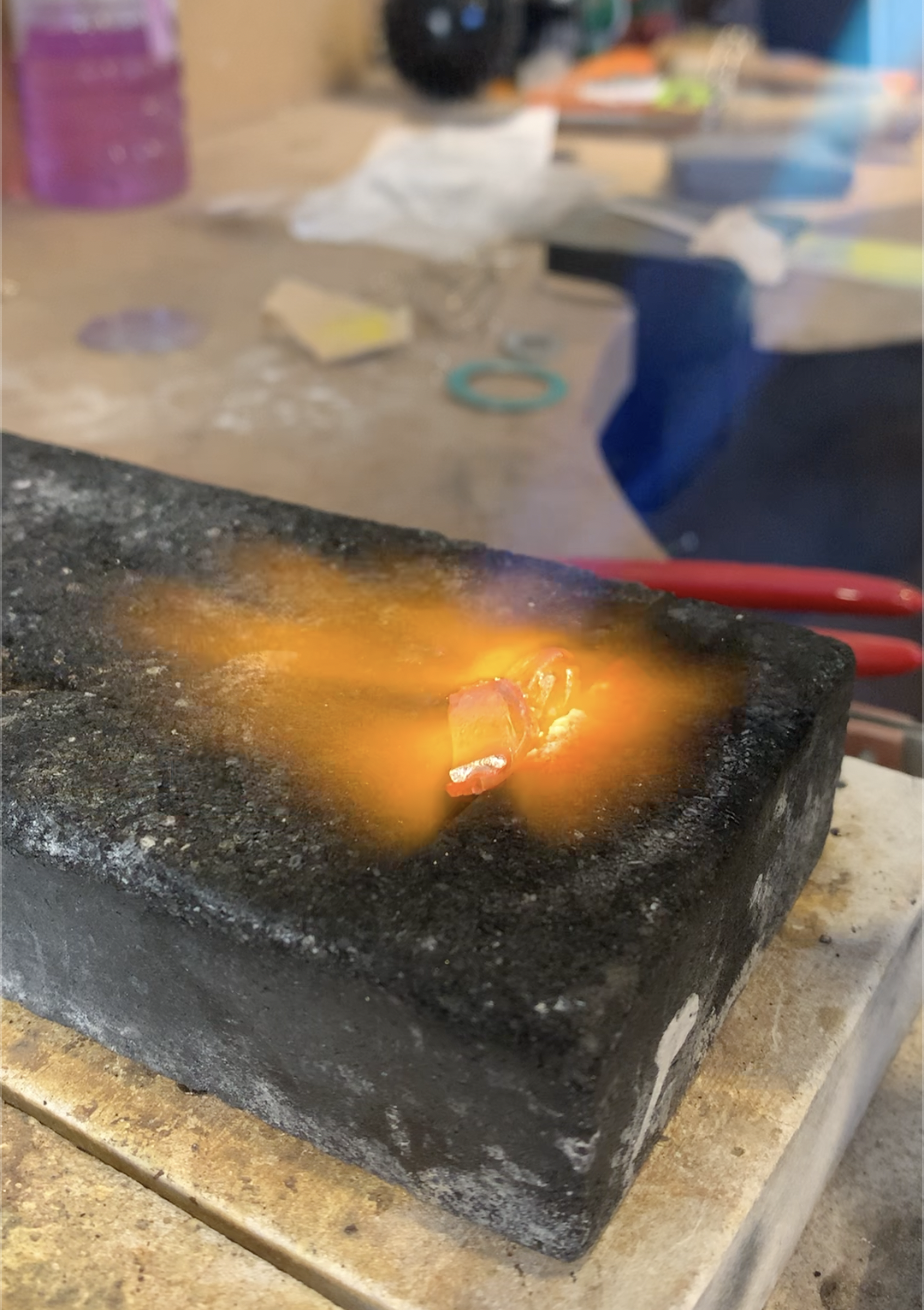
I use a charcoal block to melt my metals down in, its a very straight forward process whereby you apply high heat to the gold and once it makes a bubble like surface you can leave it to cool into its new form.
Stage 3:
Making Wire
This is the most labourious stage of the remodelling process. To make wire from a lump of gold requires the process of ‘drawing down’ where you meticulously roll down the piece of gold using the rolling mill until it is of a resonable size to then draw down using a draw bench. Wrought iron rough teeth pliers clamp down on a small piece of wire that is threaded through a small hole in the drawplate and is then levered through enabling the wire to go down in width incrementally.
Stage 4:
Assembling the pieces
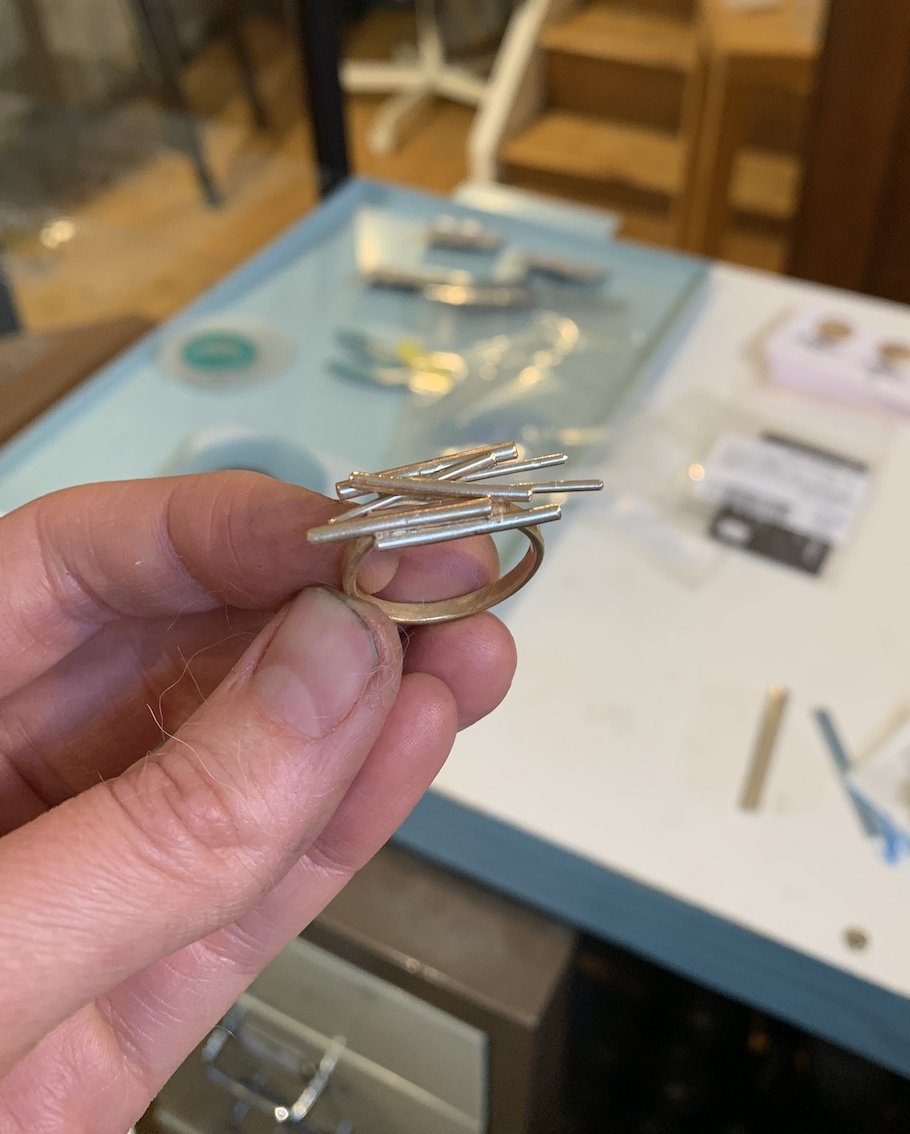
After the wire gets to a certain width I take my first cutting for the shank of the ring. I then drawn down the wire a few times more cutting as I go ensuring I have a collection of different sized pieces of wire. This helps create the volume of the Flotsam ring. I also make the setting for the ruby, I’m using a simple claw setting to hold it in place and tube settings for the tiny diamonds scattered throughout the ring. We have chosen to use three diamonds alongside the ruby and it works perfectly. All it needs now is to be assembled and soldered into place.
Stage 5:
Setting and Finishing
Setting the stones takes precision and concentration. I find setting stones first thing when I get to the workshop is the best time to do it! Each tube setting has to be burred into and cleaned out to ensure each diamond can sit happily. Each side is then systematically pushed over the diamond ensuring its set securely in place. The claws on the ruby are burnished and filed to ensure no snags are there.
The ring is then sanded and polished and given the signature distressed look.


